After I had a functioning texture saved as a .tga or targa, I was able to create a normal for it. Normal's are height information that give depth to textures. We used a software called
Crazy Bump to create the normal's.
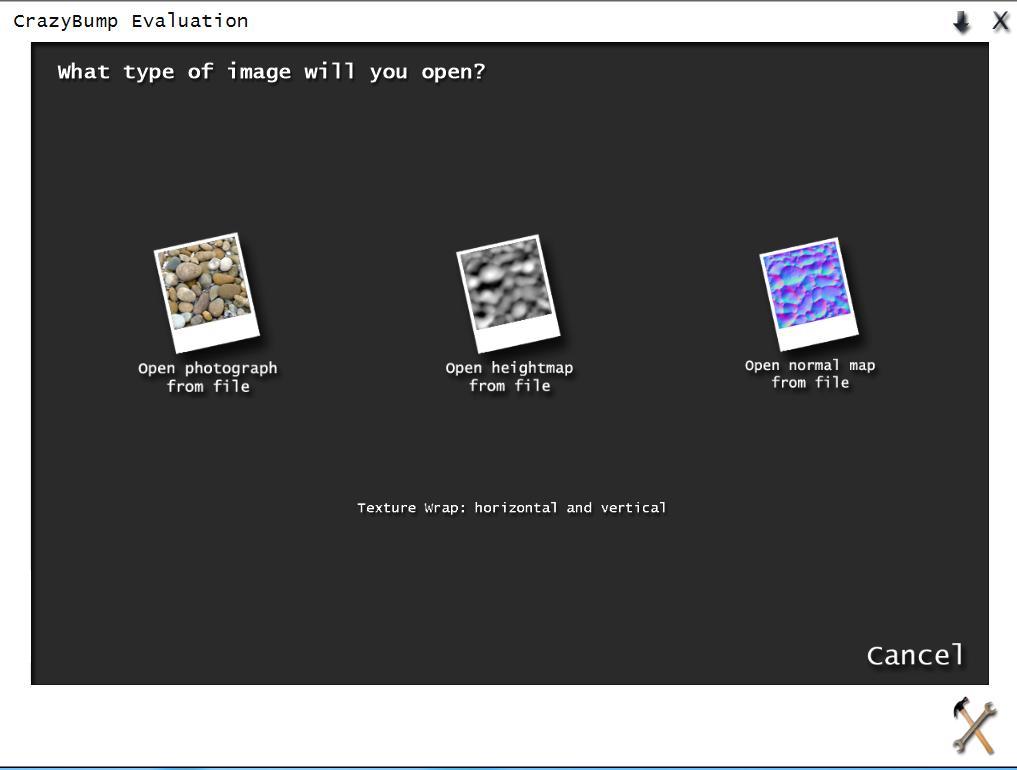 |
| Crazy bumps main menu |
We add a opened a photograph from file and selected in which direction we wanted the height to go. This is really redundant because it can be changed after this step.
 |
| select weather the normal is coming out of the wall or going into it. |
Once selected we get a pop-up of a preview window and some sliders.
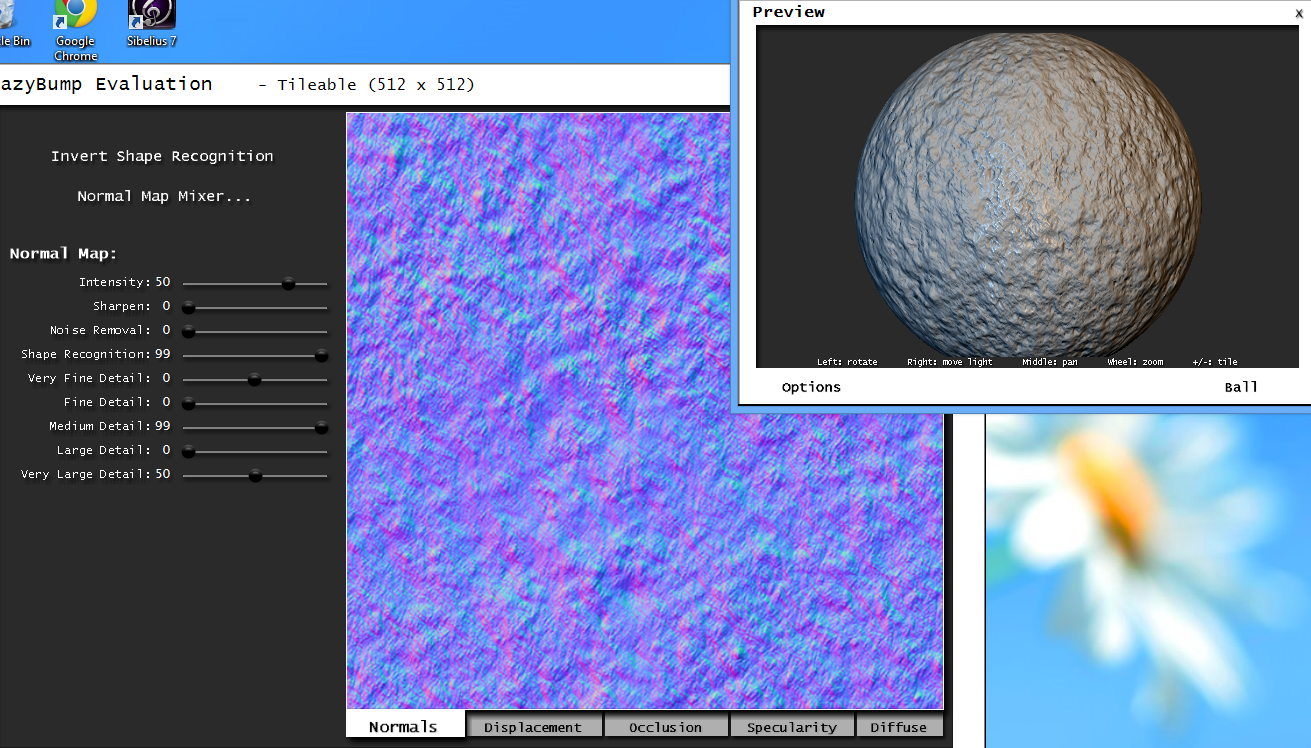 |
| Crazy bump, editing screen |
You can really just play around with these until your happy with the result. It must be saved as a .tga
After this we import the saved file into UDK. Just import it to your personal package to keep things clean.
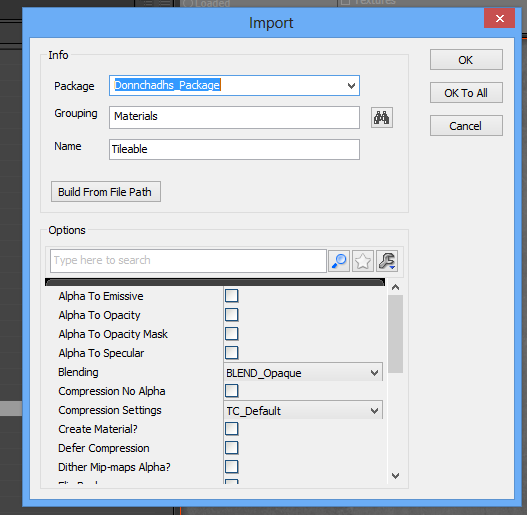 |
| UDK import screen |
Then the only thing left is to create a new material and attach our normal and our diffused to it.
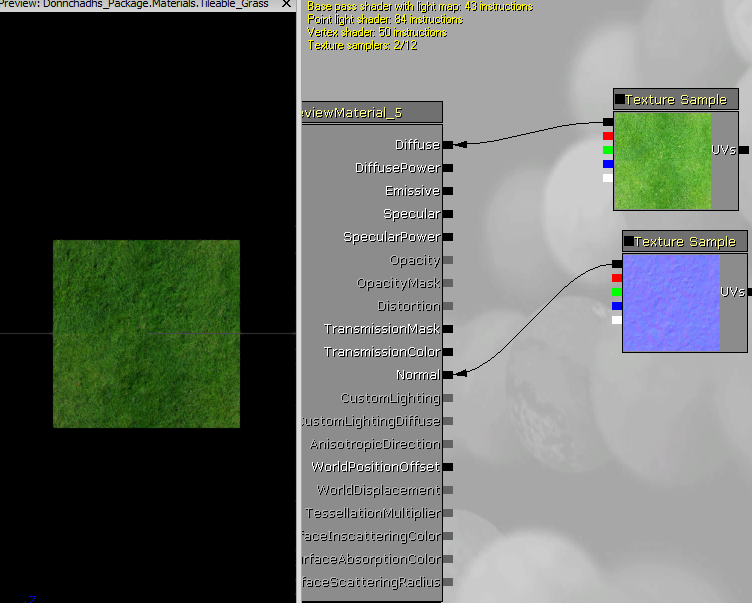 |
| Plugging in textures and normal into the correct blocks |
The finished result can look something like this.
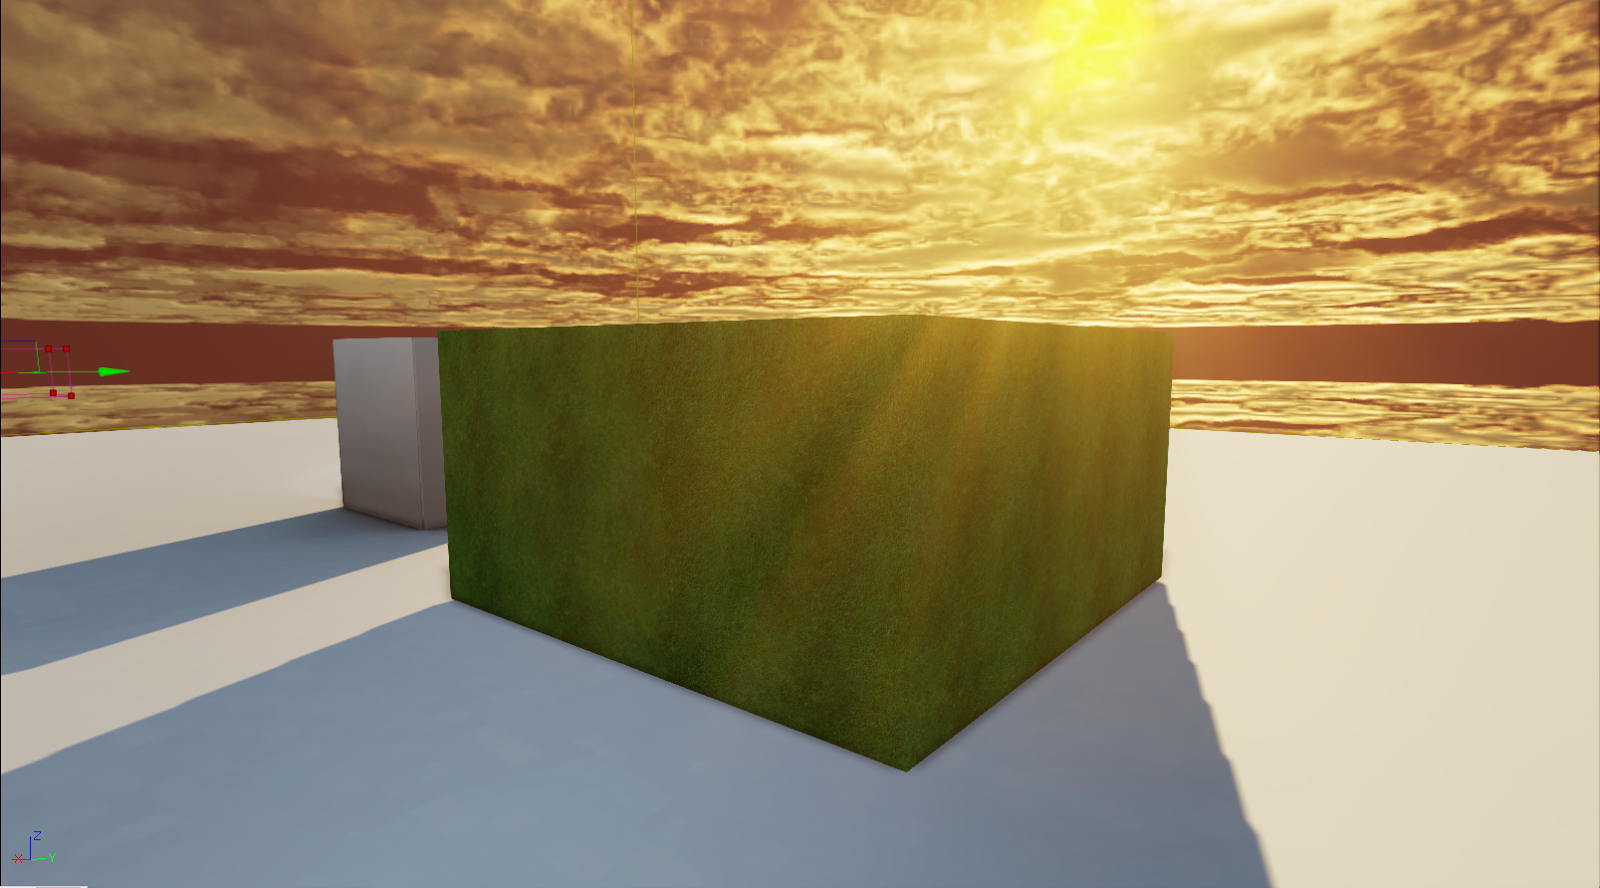 |
| Finished and applied texture with normal |
No comments:
Post a Comment